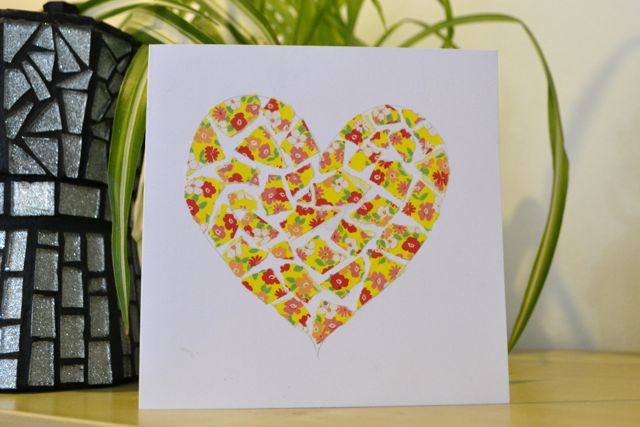
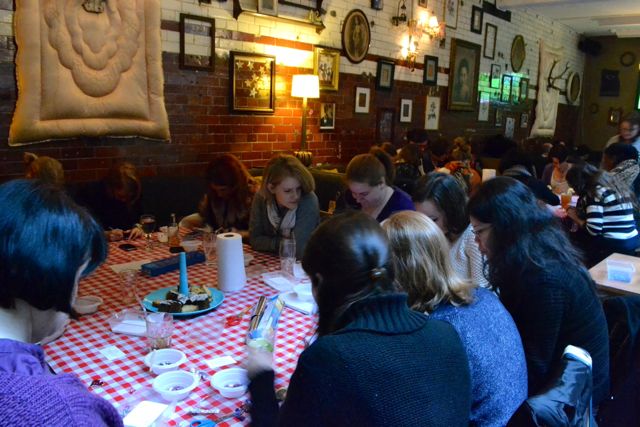
Paper mosaic making is a great activity for children and grown-up’s alike. I just did it with a group of 30 adults at Crafty Pint (crafts in a London pub, no less!) and it was great seeing how absorbed people got making this. Here they are in action…
Whilst it seems pretty obvious how to do this, there is a little trick (often missed when I see children’s paper mosaics) so read on to find out..!
What you need:
1. Card
2. Glue (glue sticks, craft glue – as longs as its not too ‘wet’ or the paper may crumple)
3. An assortment of paper. We used origami paper but this activity is great for recycling and re-purposing paper and card that would get thrown away – old giftwrap, old greetings cards, the sides of gift boxes, packaging etc… Stick with one pattern or mix and match!
How to do it:
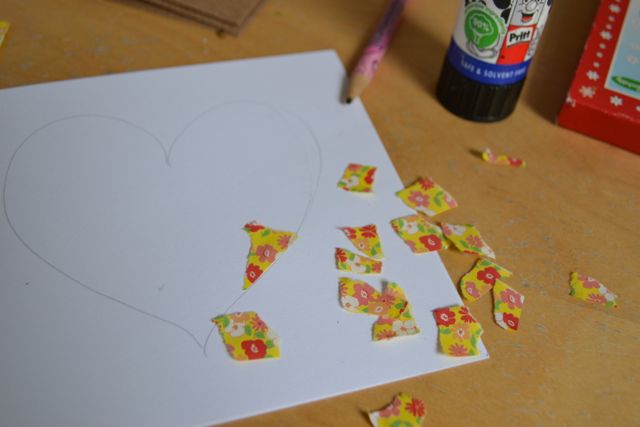
1. Draw your design that you want to mosaic lightly in pencil.
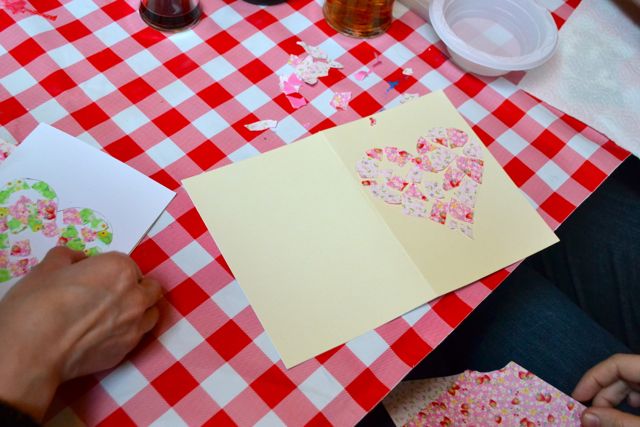
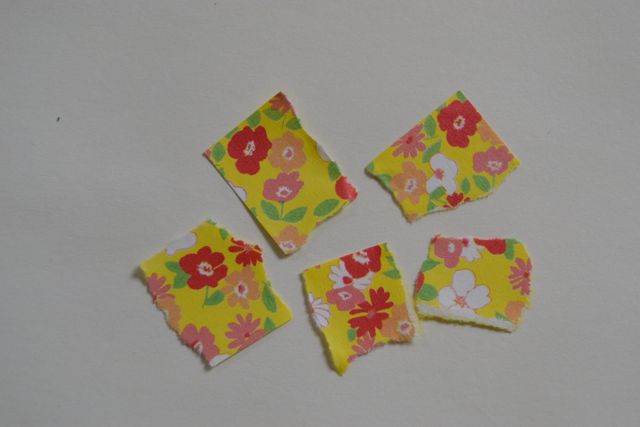
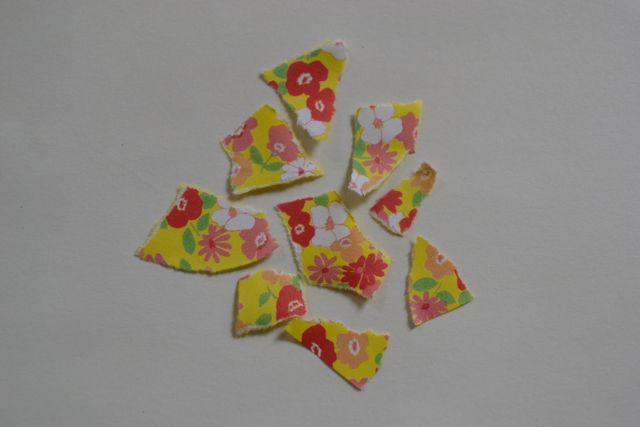
2. Rip your paper up into small pieces (tesserae in mosaic terms). If you want to, you can cut it with scissors but I like the ripped effect more…
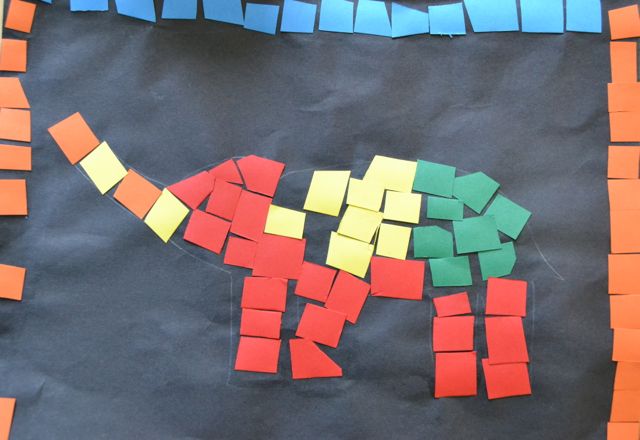
3. Now here’s the trick. Most often when I see children’s paper mosaics (like the ones my kiddies brought home from school last week), the pieces are squares:
Using squares actually makes it harder to piece the mosaic image together – lots of right angles just don’t sit very easily next to each other to create a flow and outline and the angles are quite distracting to the eye.
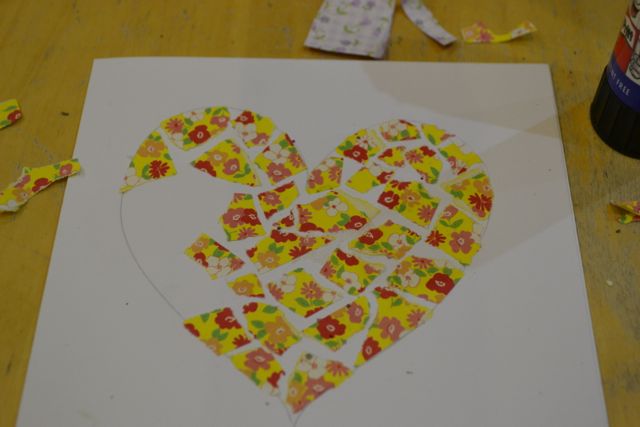
By starting off with lots of irregular shapes to work with instead of squares, you will find that the mosaic comes together easily, flows nicely and has less gaps and distracting right angles.
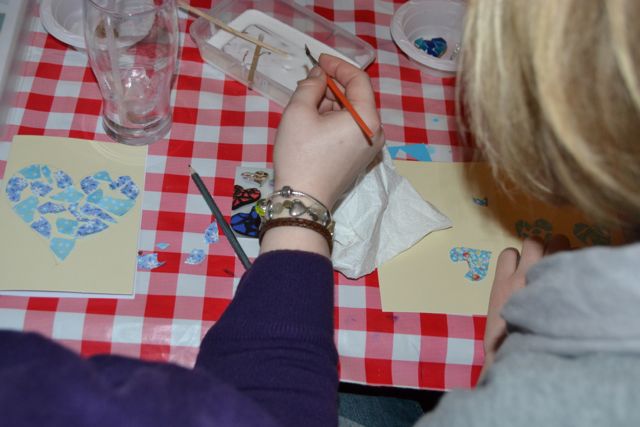
4. Time to stick! I encourage people to start with a nice big pile of pieces so you have lots of shapes to choose from and then take time choosing pieces, turning pieces around until they fit just right next to each other. You can of course easily trim the paper to fit awkward spaces.
5. Normally you leave a gap between each piece of paper, but Isabella decided to make her own version with the pieces all touching.
In fact, there is a whole genre of mosaics that are left ungrouted (normally made with smalti) where no gap is left and the pieces touch.
We also tried colouring in the ‘grout’ gaps with crayon but realised too late that the crayons were water soluble, so a bit of a smudgy finish! But you can play with the idea of colouring the grout gaps too – or using a black or dark card for your background for extra drama, perfect for valentines!
Have fun and remember you can find other tutorials and ideas for making mosaics here.
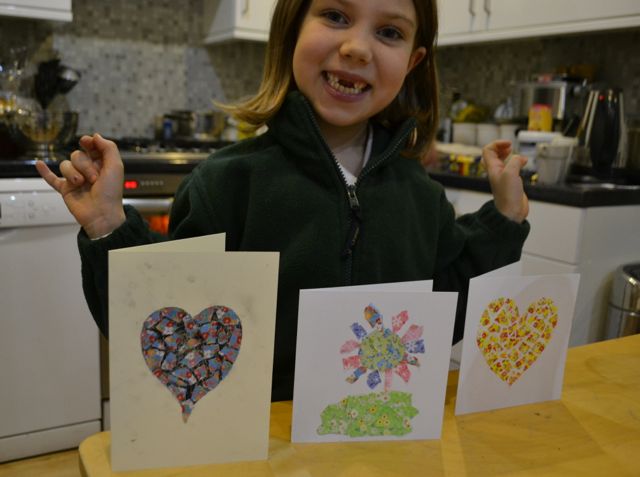
Made me smile to get messages on my FB page to say people had made these for their beloved’s!
So fun!
hi!,I really like your writing very much! share
we be in contact extra about your article on AOL?
I require a specialist in this area to resolve my problem.
Maybe that’s you! Having a look forward to peer you.