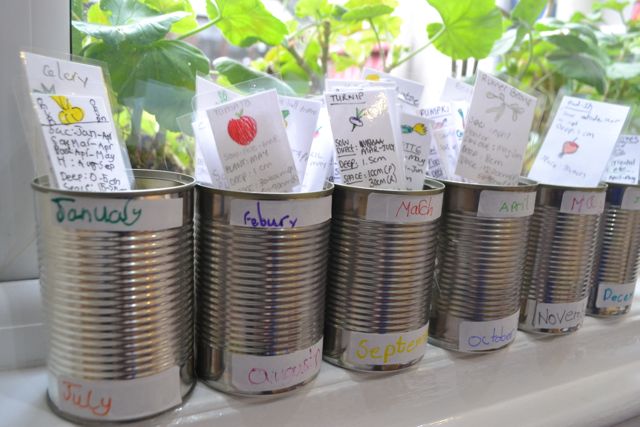
It is our second year of being allotment holders. Any of you who are veg growers will know that its time…
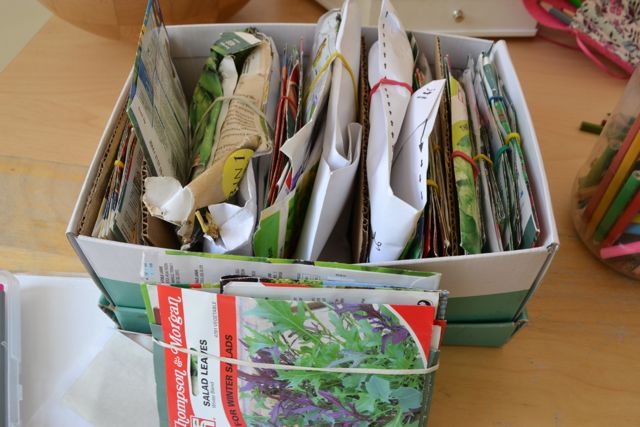
Time to get the seed packets out..
To sow…
To plan…
To plant…
So many veggies on our wish list (about 40 to be precise) and being a big urban hippie, we are growing them all from seed (some of them our own seeds from last year – Mother Nature’s kindness).
If you are anything like me, with a job list as long as your arm, the impending ‘to do’s‘ of being a veg grower can set me hyperventilating. So me and my sweet bunnies sat down one day and invented this visual, at-a-glance planner for our growing year :
– what to sow when
-what to re-pot when
– what to plant out when
Here’s what we did:
1. We created a marker (from a small square of card) for each veg we want to grow.
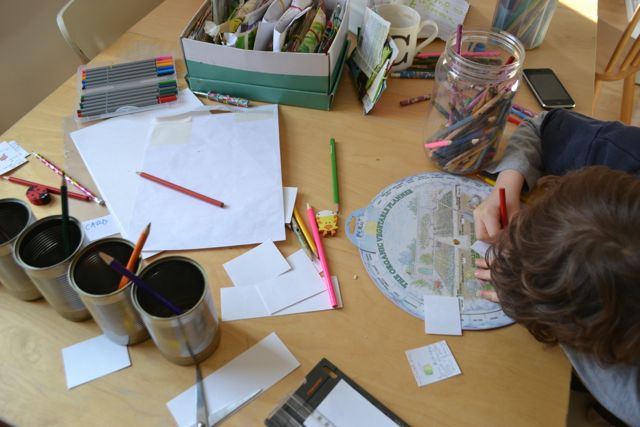
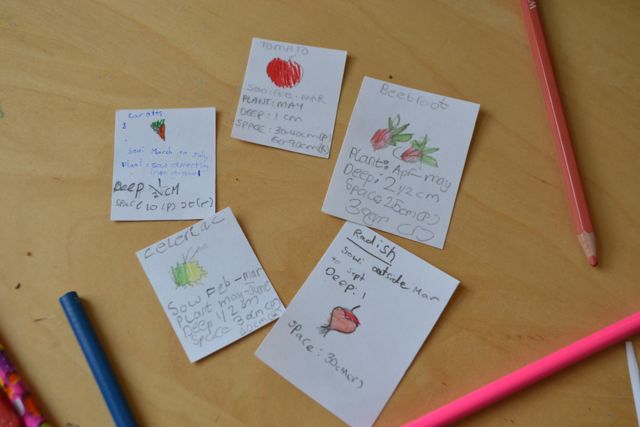 The marker tells you the sowing period, how deep to sow, how far apart to space plants etc… you can add whatever info you want. (note: Mummy is learning not to have everything ‘perfect’ and letting the kids do the labels their way…)
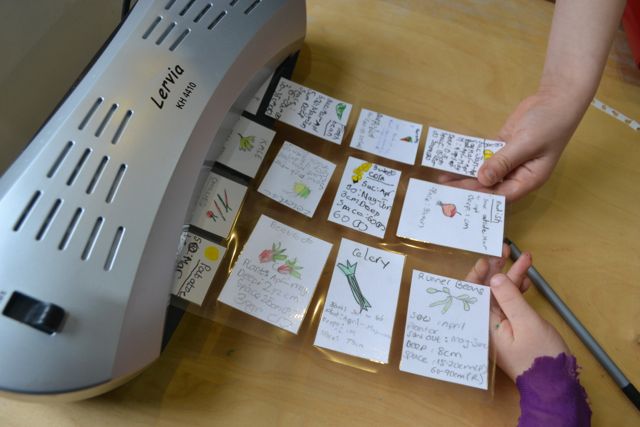
2. We laminated the veg markers, cut each one out and stuck it to its own lolly stick.
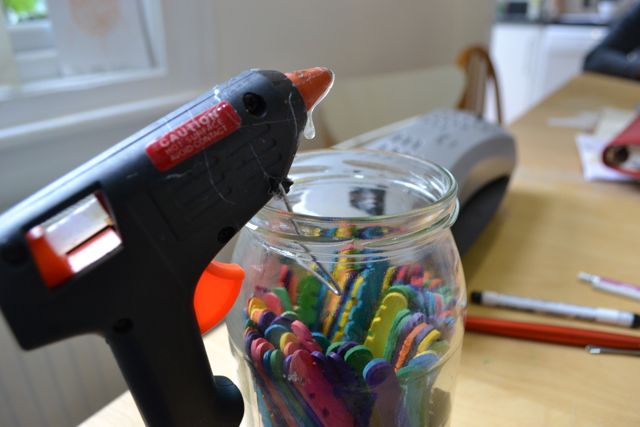
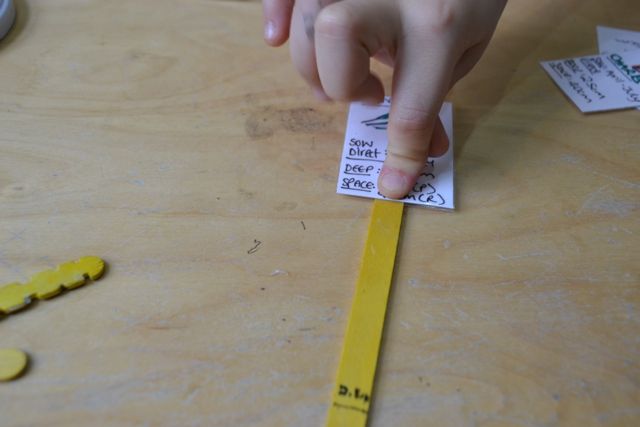
3. Toby came up with the idea of marking on each lolly stick how deep the seeds are to be sown.
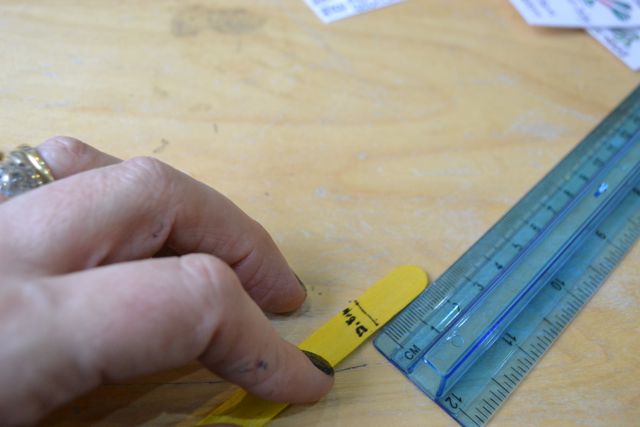
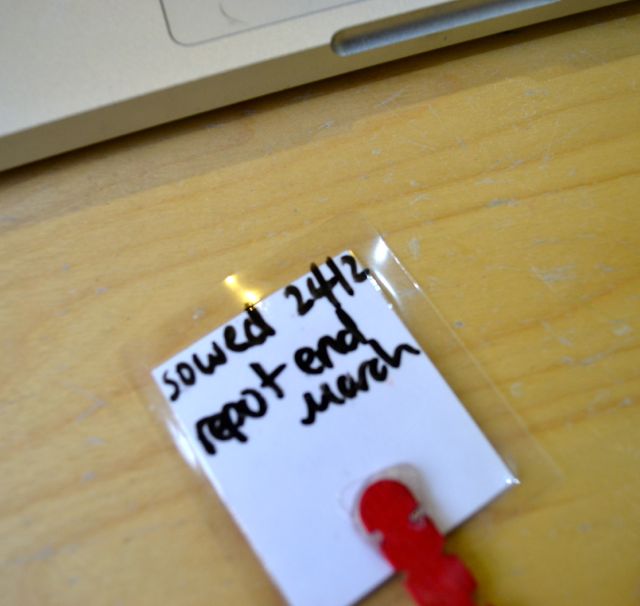
And mummy had the idea of writing on the back of each laminated veg marker the date when it was sown and what to do with it next (I still can’t work out if the correct grammar is ‘sown’ or ‘sowed’!)
4. We stuck 6 clean tin cans together with a glue gun – each tin is labelled for a month of the year, doubling round as the year goes on.
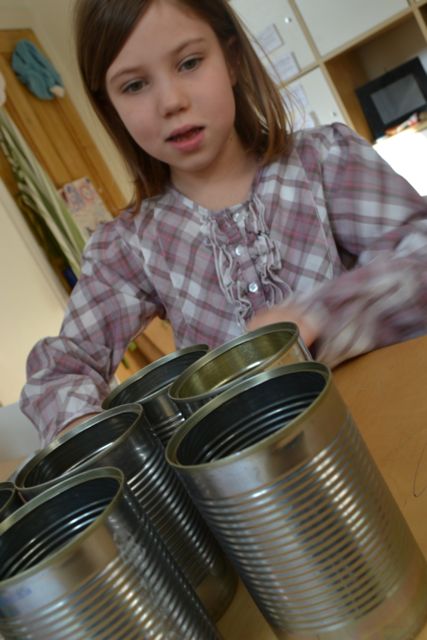
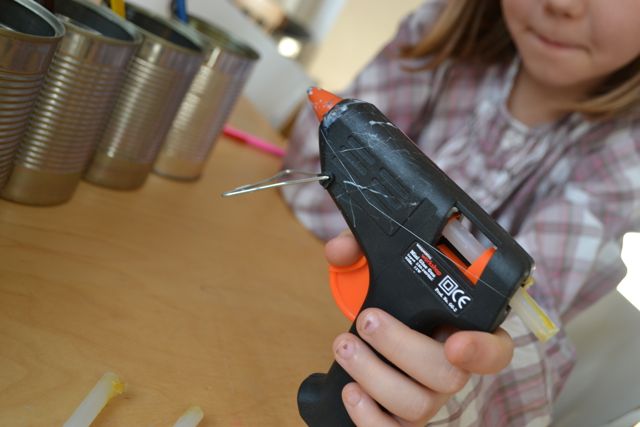
And here is how you use it:

1. You put each veg marker in the pot of the month when you are to sow it so that, at-a-glance, you can see what you need to do each month.
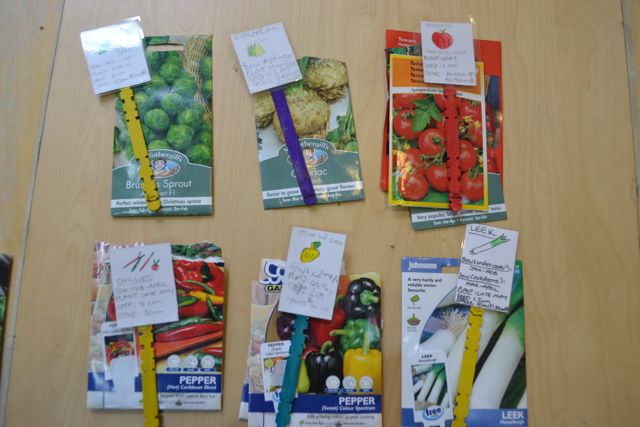
2. When you have done the task for each veg in the current month’s pot, you write on the back of each veg marker what you did (eg. ‘sowed on 24 Feb‘) and what you need to do next for that particular veg (eg. ‘repot end of March‘)
3. You then you pop the veg marker into the next pot when a job is due – eg. if you have sown tomato seeds in February (first job) and you then re-potted them at the end of March (second job), your next job is to plant them out at the start of June – so you put the tomato marker in the June pot. This way, you can see what needs doing month by month just by looking at your pot planner!
4. Use your at-a-glance planner to keep on top of your successional planting (where you sow seeds every few weeks so you spread out your supply of things like salads, radishes and carrots).
There you have it – a simple, visual planner for all your veg growing!
The kids have absolutely loved doing this activity – looking up the info for each veg – learning loads along the way. It is exciting to see them really engaging in planning for our family allotment.
I thought about mounting the tins on a nice piece of distressed wood to hang in the kitchen / porch / shed, but for now it staying on the window sill in our kitchen-diner….
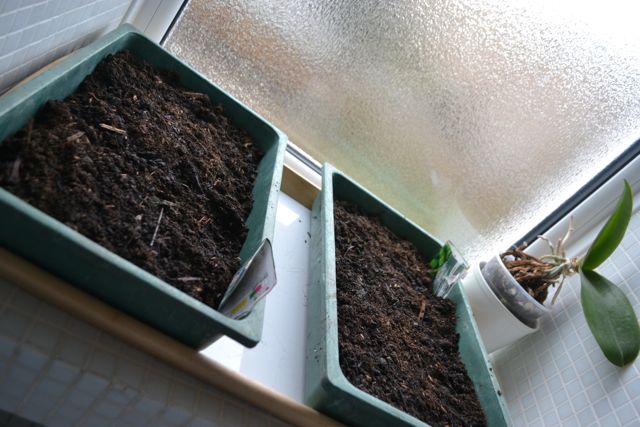
As you can see, we have started sowing – tomatoes, brussel sprouts, celeriac, leeks and chill peppers. Not having a heated greenhouse, seeds are everywhere round the house. It is nearly March, and that’s when the work really begins…here’s hoping for some warm days to help the seeds to grow!
Bravissimi! I like that. it’s brilliant for the kids to get so involved i bet they love it!I would love to visit your allotment. Is it far from Furzedown?
Hi Elisabetta – its in Wallington – 15 mins away! Yes come when the weather warms up! x
Your preparation and organisation still amaze me! Bora and I are very inspired! If we can find the time think we might try and recreate something similar for our big mounds outside which are slowly but surely shaping into some sort of a garden!
Speak soon,
Jules xxx
Another of the lovely Perot projects I shall definitely copy…Ivan has even dug over the veg patch ready, but somehow in tidying the shed he’s lost our seed tin…this should just save the day!
Jane x