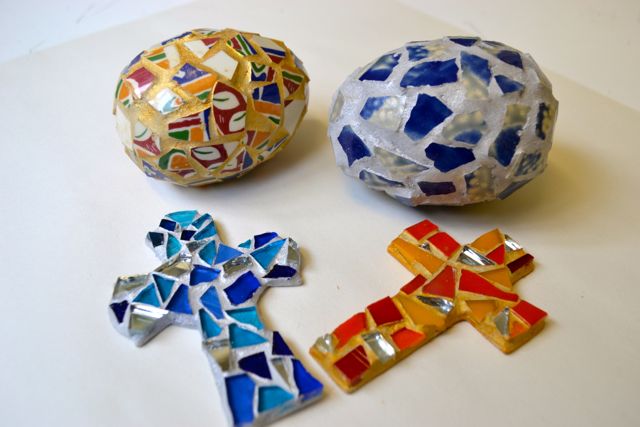
We have been enjoying making these little mosaic beauties to celebrate Easter (mummy has been using her two little ones as guinea pigs for the workshop that I am running at St. Paul’s Cathedral this week!). I feel very excited to be running a workshop for children in this amazing place (which is filled with the most stunning mosaics did you know?) so a practice run with my two seemed quite appropriate.
I had the privilege of having a very up close tour of the mosaics at St. Paul’s when I visited staff at the Cathedral last year – so close that I was up in the dome of the Cathedral, able to touch the 19th century smalti mosaics whilst looking down on the ant-sized people below. My heart rate was up for an hour afterwards!
Do you want to make some of these, for Easter or otherwise? (Making a mosaic cross or own Faberge’ egg seems appropriate at any time of year, I think…)
Here’s what we did:
You will need
Base for cross– in our case we used small crosses made of thin plywood (quite flexible so we used flexible, transparent kitchen & bathroom sealant as our glue). You can cut your own base from MDF wood or order them online. You an also make bases from FIMO/ Das type clay.
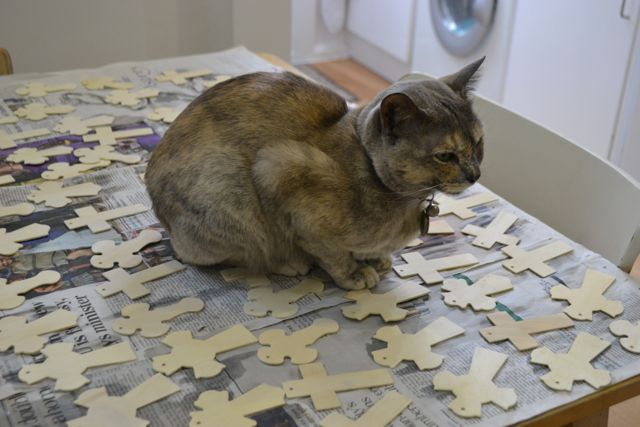
We sealed all the bare wood with a watered down solution of PVA (white craft) glue (1 glue: 4 water). The cat didn’t help….
Base for egg – polystyrene. You can also make a ball rather than egg shape – all easily available from craft suppliers.
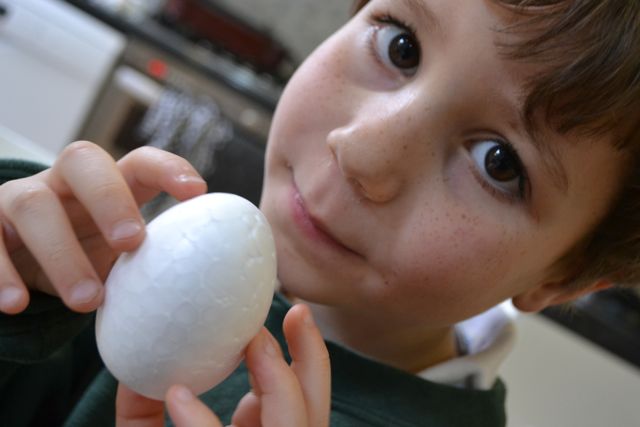
Again, as polystyrene is slightly flexible, I use flexible glue (silicone or acrylic kitchen & bathroom sealant – with kids I use acrylic as it does not smell).
Mosaic pieces – cut into small, irregular shapes (two days worth of cutting for this workshop!).
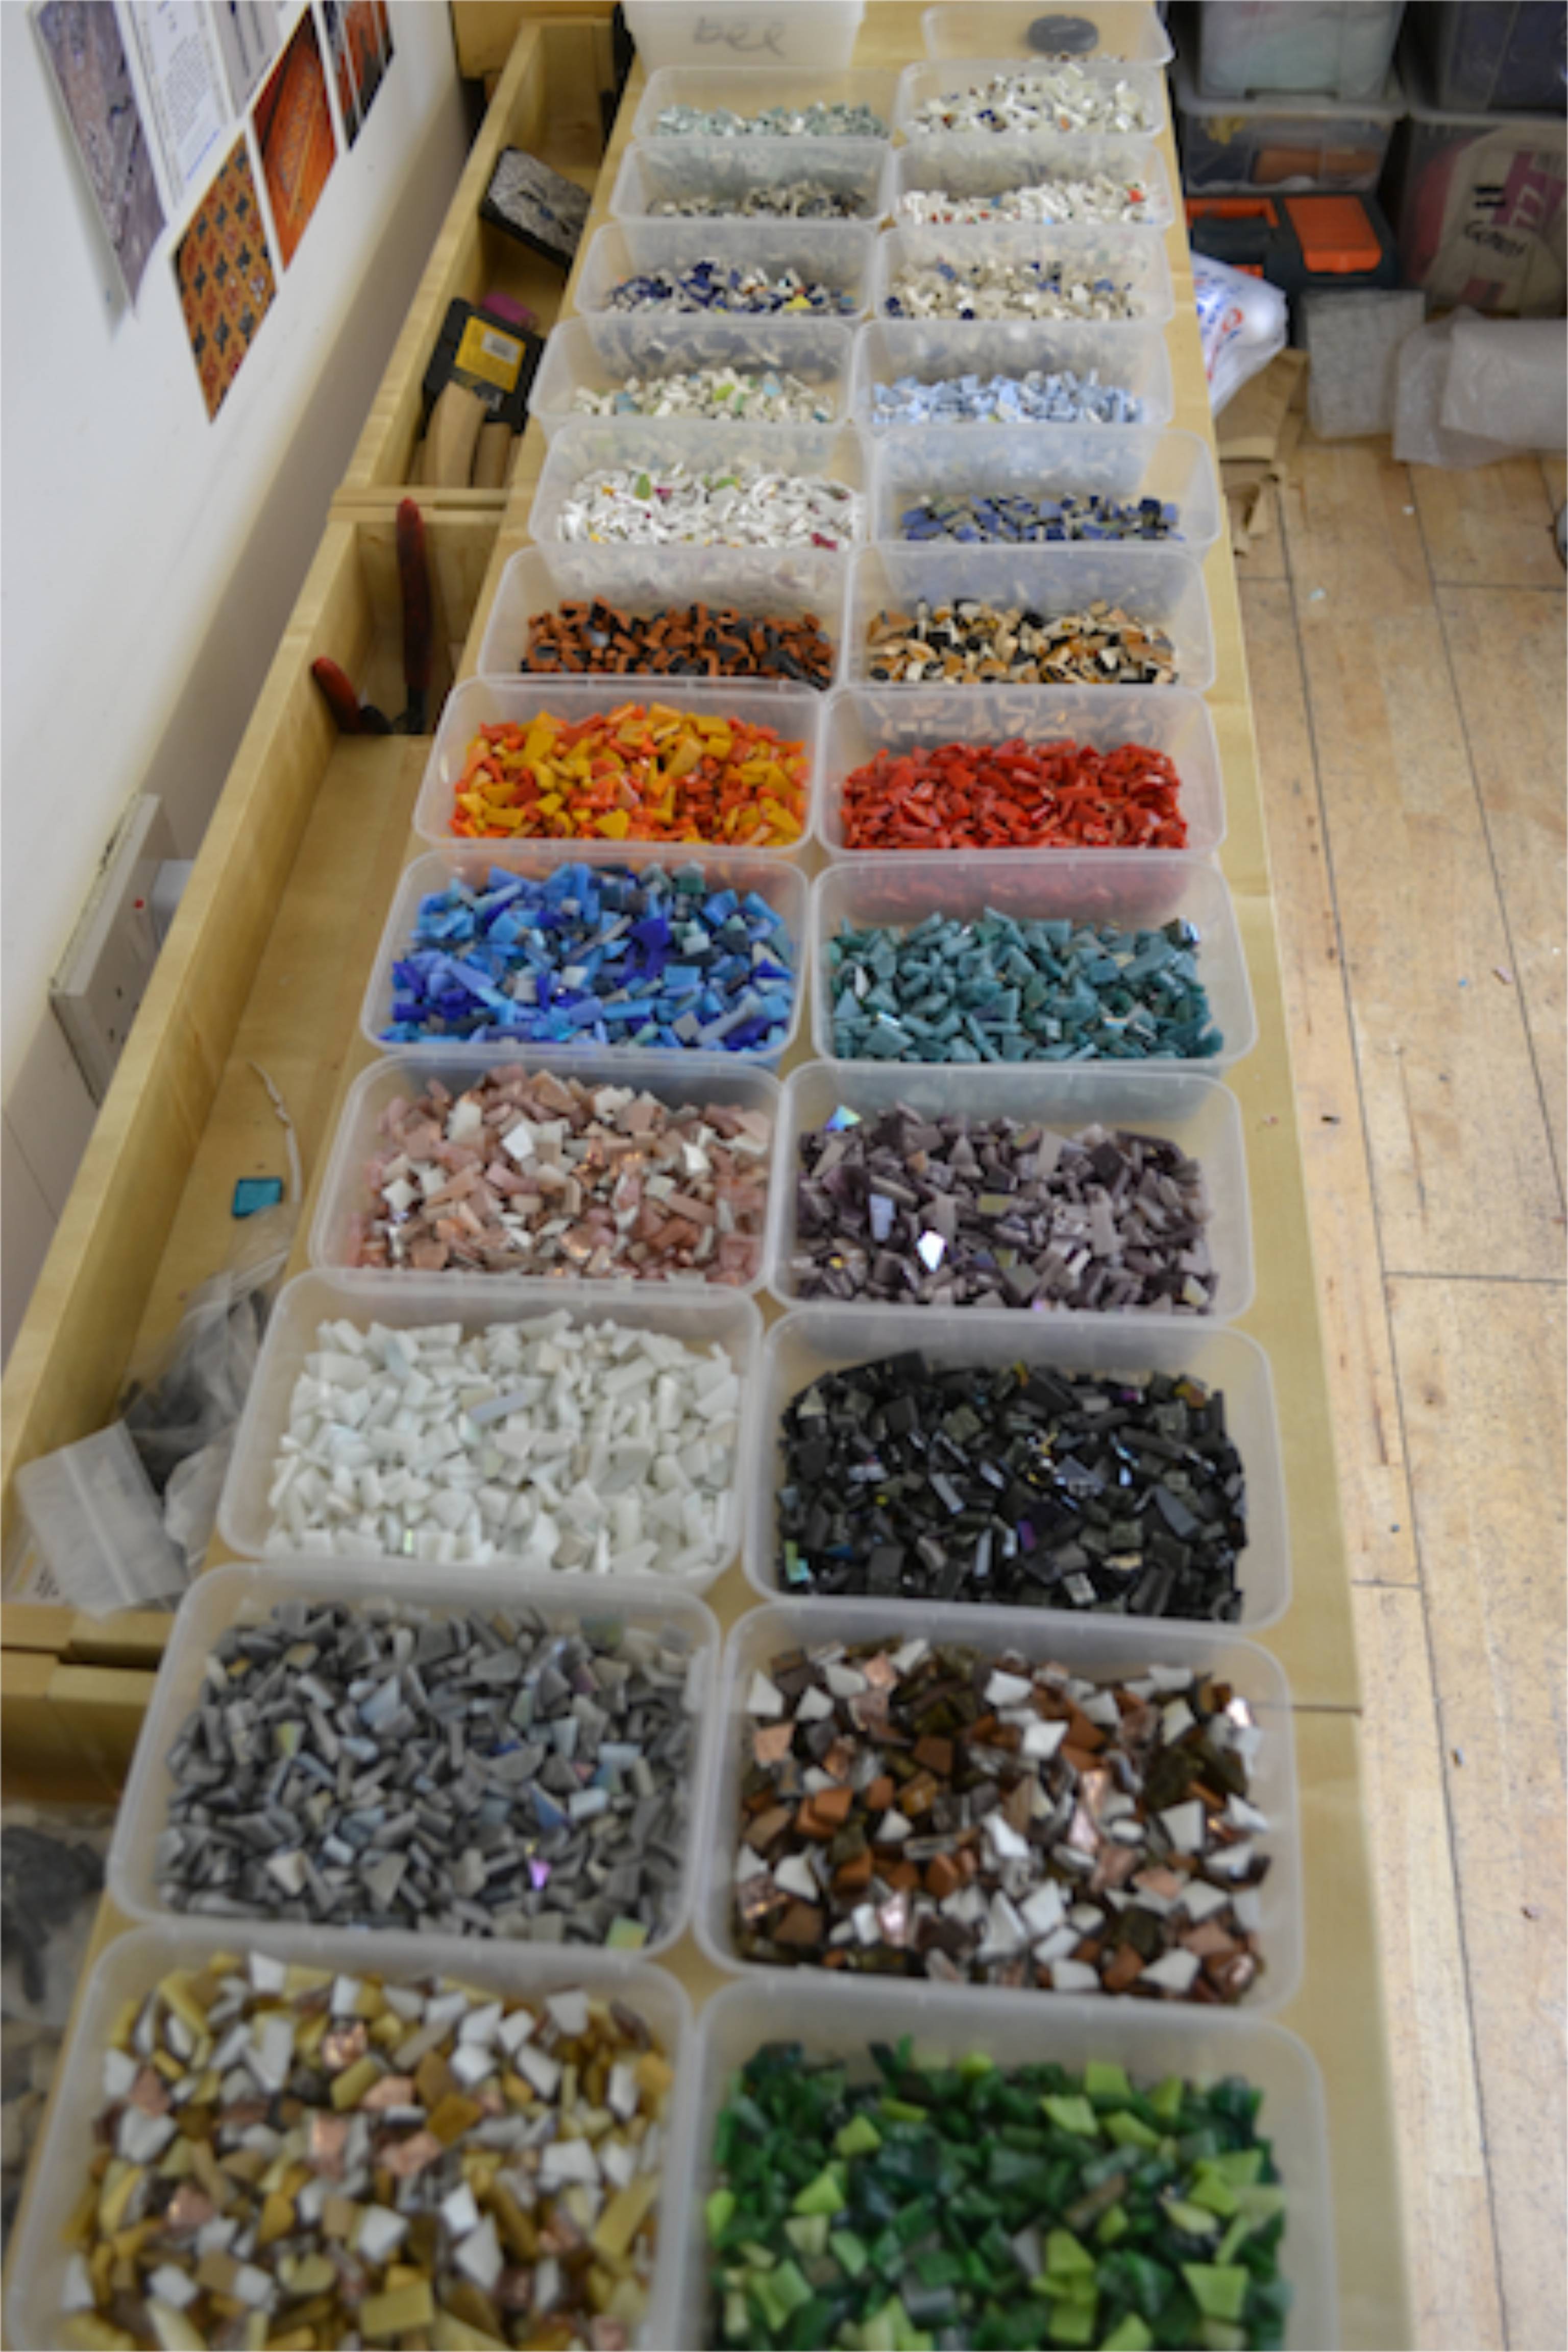
I have used a mix of vitreous tile, mirror and broken crockery. You can use stained glass offcuts too, as well as beads, stone etc… Or if those are not available, try your hand at broken egshell mosaics – colour then smash eggshell and to use as your ‘tesserae’ (put ‘eggshell mosaics’ in a search engine and you will see lots of examples).
Glue: you can use ordinary PVA glue for the crosses. As mentioned above, we used acrylic kitchen / bathroom sealant (that dries clear) because are surfaces have slight flex.
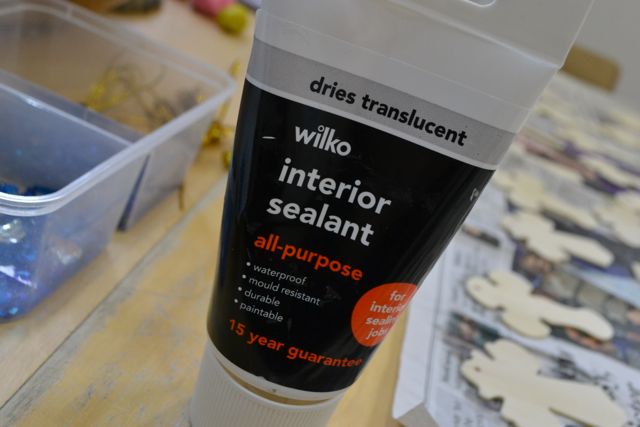
This glue is also great for 3d projects like the mosaic egg as it is very tacky so the pieces stay in place and don’t slide off while you are making the mosaic.
Grout: you can use white and then colour the grout as shown below. Or use a different colour grout if you prefer .
Get plenty of kitchen roll, aprons to project clothes, gloves for grouting, spreaders etc… ready too.
What to do
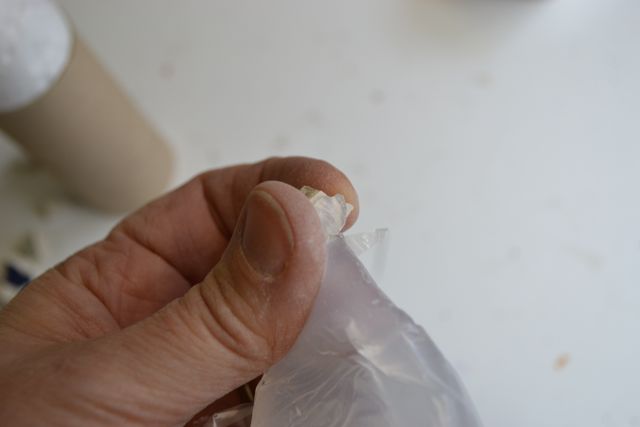
1. If you are using the sealant type glue, I buy it in the bigger builders tubes (cheaper and I use lots of it!) and then squeeze it into a sandwich bag, snip a corner off and pipe to glue out as a I need it – much tidier as this glue is really tacky.
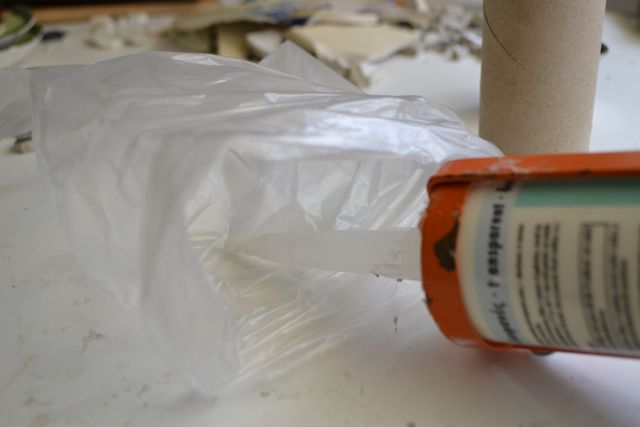
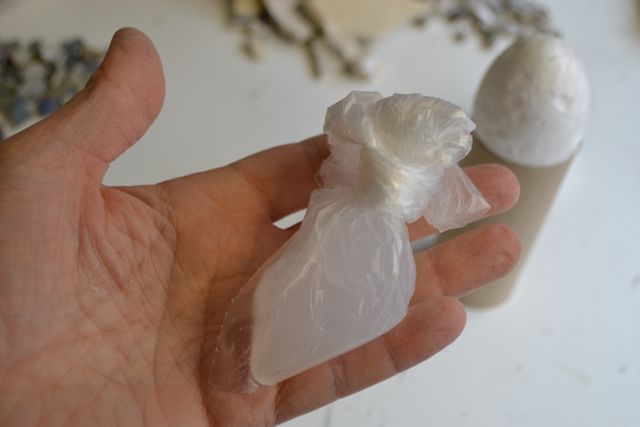
But you can often buy it already in squeezy tubes (see pic above). Or you may have decided to use ordinary PVA for your crosses… Either way, glue at the ready!
2. To make your mosaic cross: choose your colours, and spend some time playing around with the pieces, laying them out so that you like what you see. You can choose to not grout your cross at all – if so, just put the pieces touching each other.
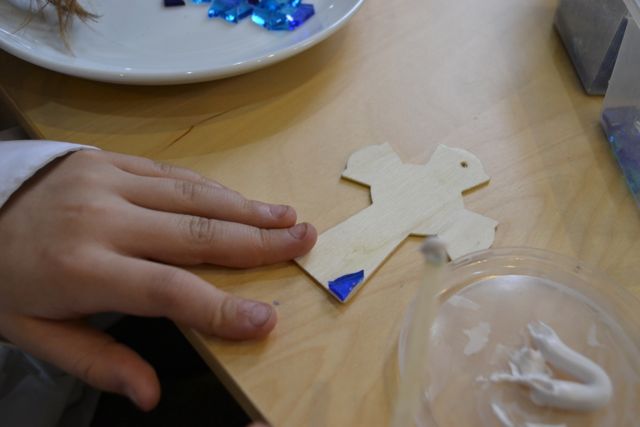
If you want to grout, leave a small gap between pieces for the grout to go in. Pay particular attention to making sure the edges of the mosaic pieces line up with the edges of the base.
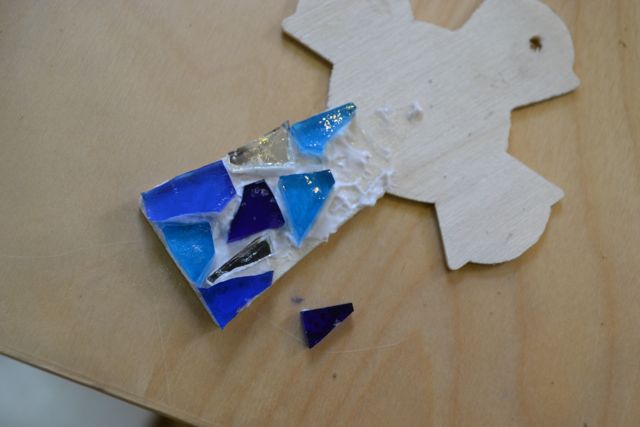
Before we moved pieces around to make them fit...
Keep an eye on the gaps. If you turn pieces round and round til they fit nicely, you will avoid big gaps and it will look better.
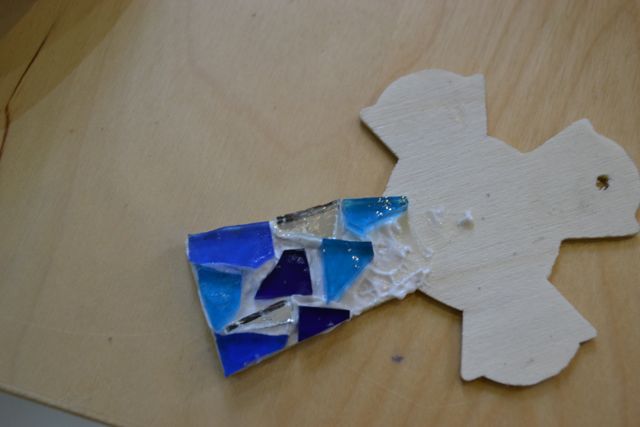
After we moved the peices - edges lined up and gaps closed...spot the difference!
Once you are ready to start sticking, you can either squeeze / spread glue on the back of each mosaic piece (I prefer this as its tidier) or spread glue on your base then pop the mosaic pieces in place.
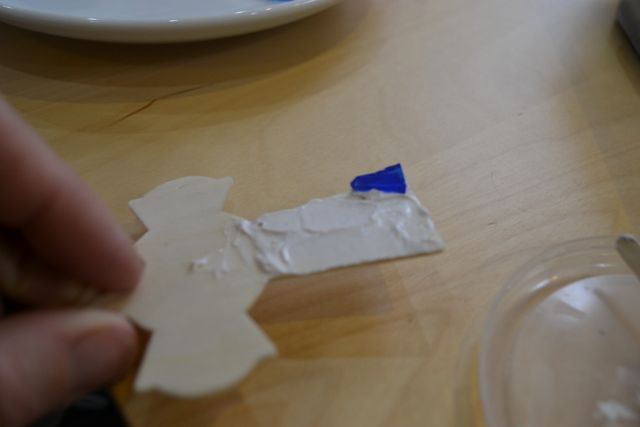
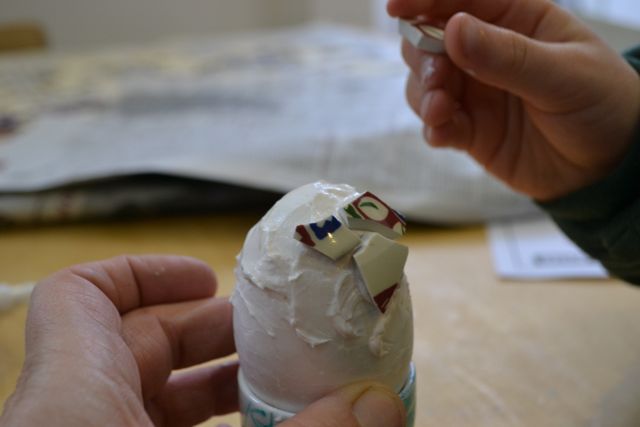
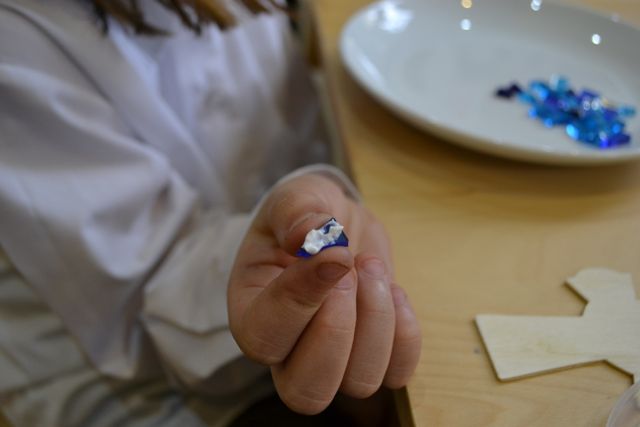
Make sure you use enough glue so that pieces don’t fall out when you grout, but not too much that the glue squidges right up and closes the grout gap. A big fat blob of glue is what you are looking for, so that the glue ‘hugs’ the tile nicely.
If you get any glue on top of the tiles it should come off OK when you grout.
3. For the egg: use an egg cup or old toilet roll to hold the egg while you work.
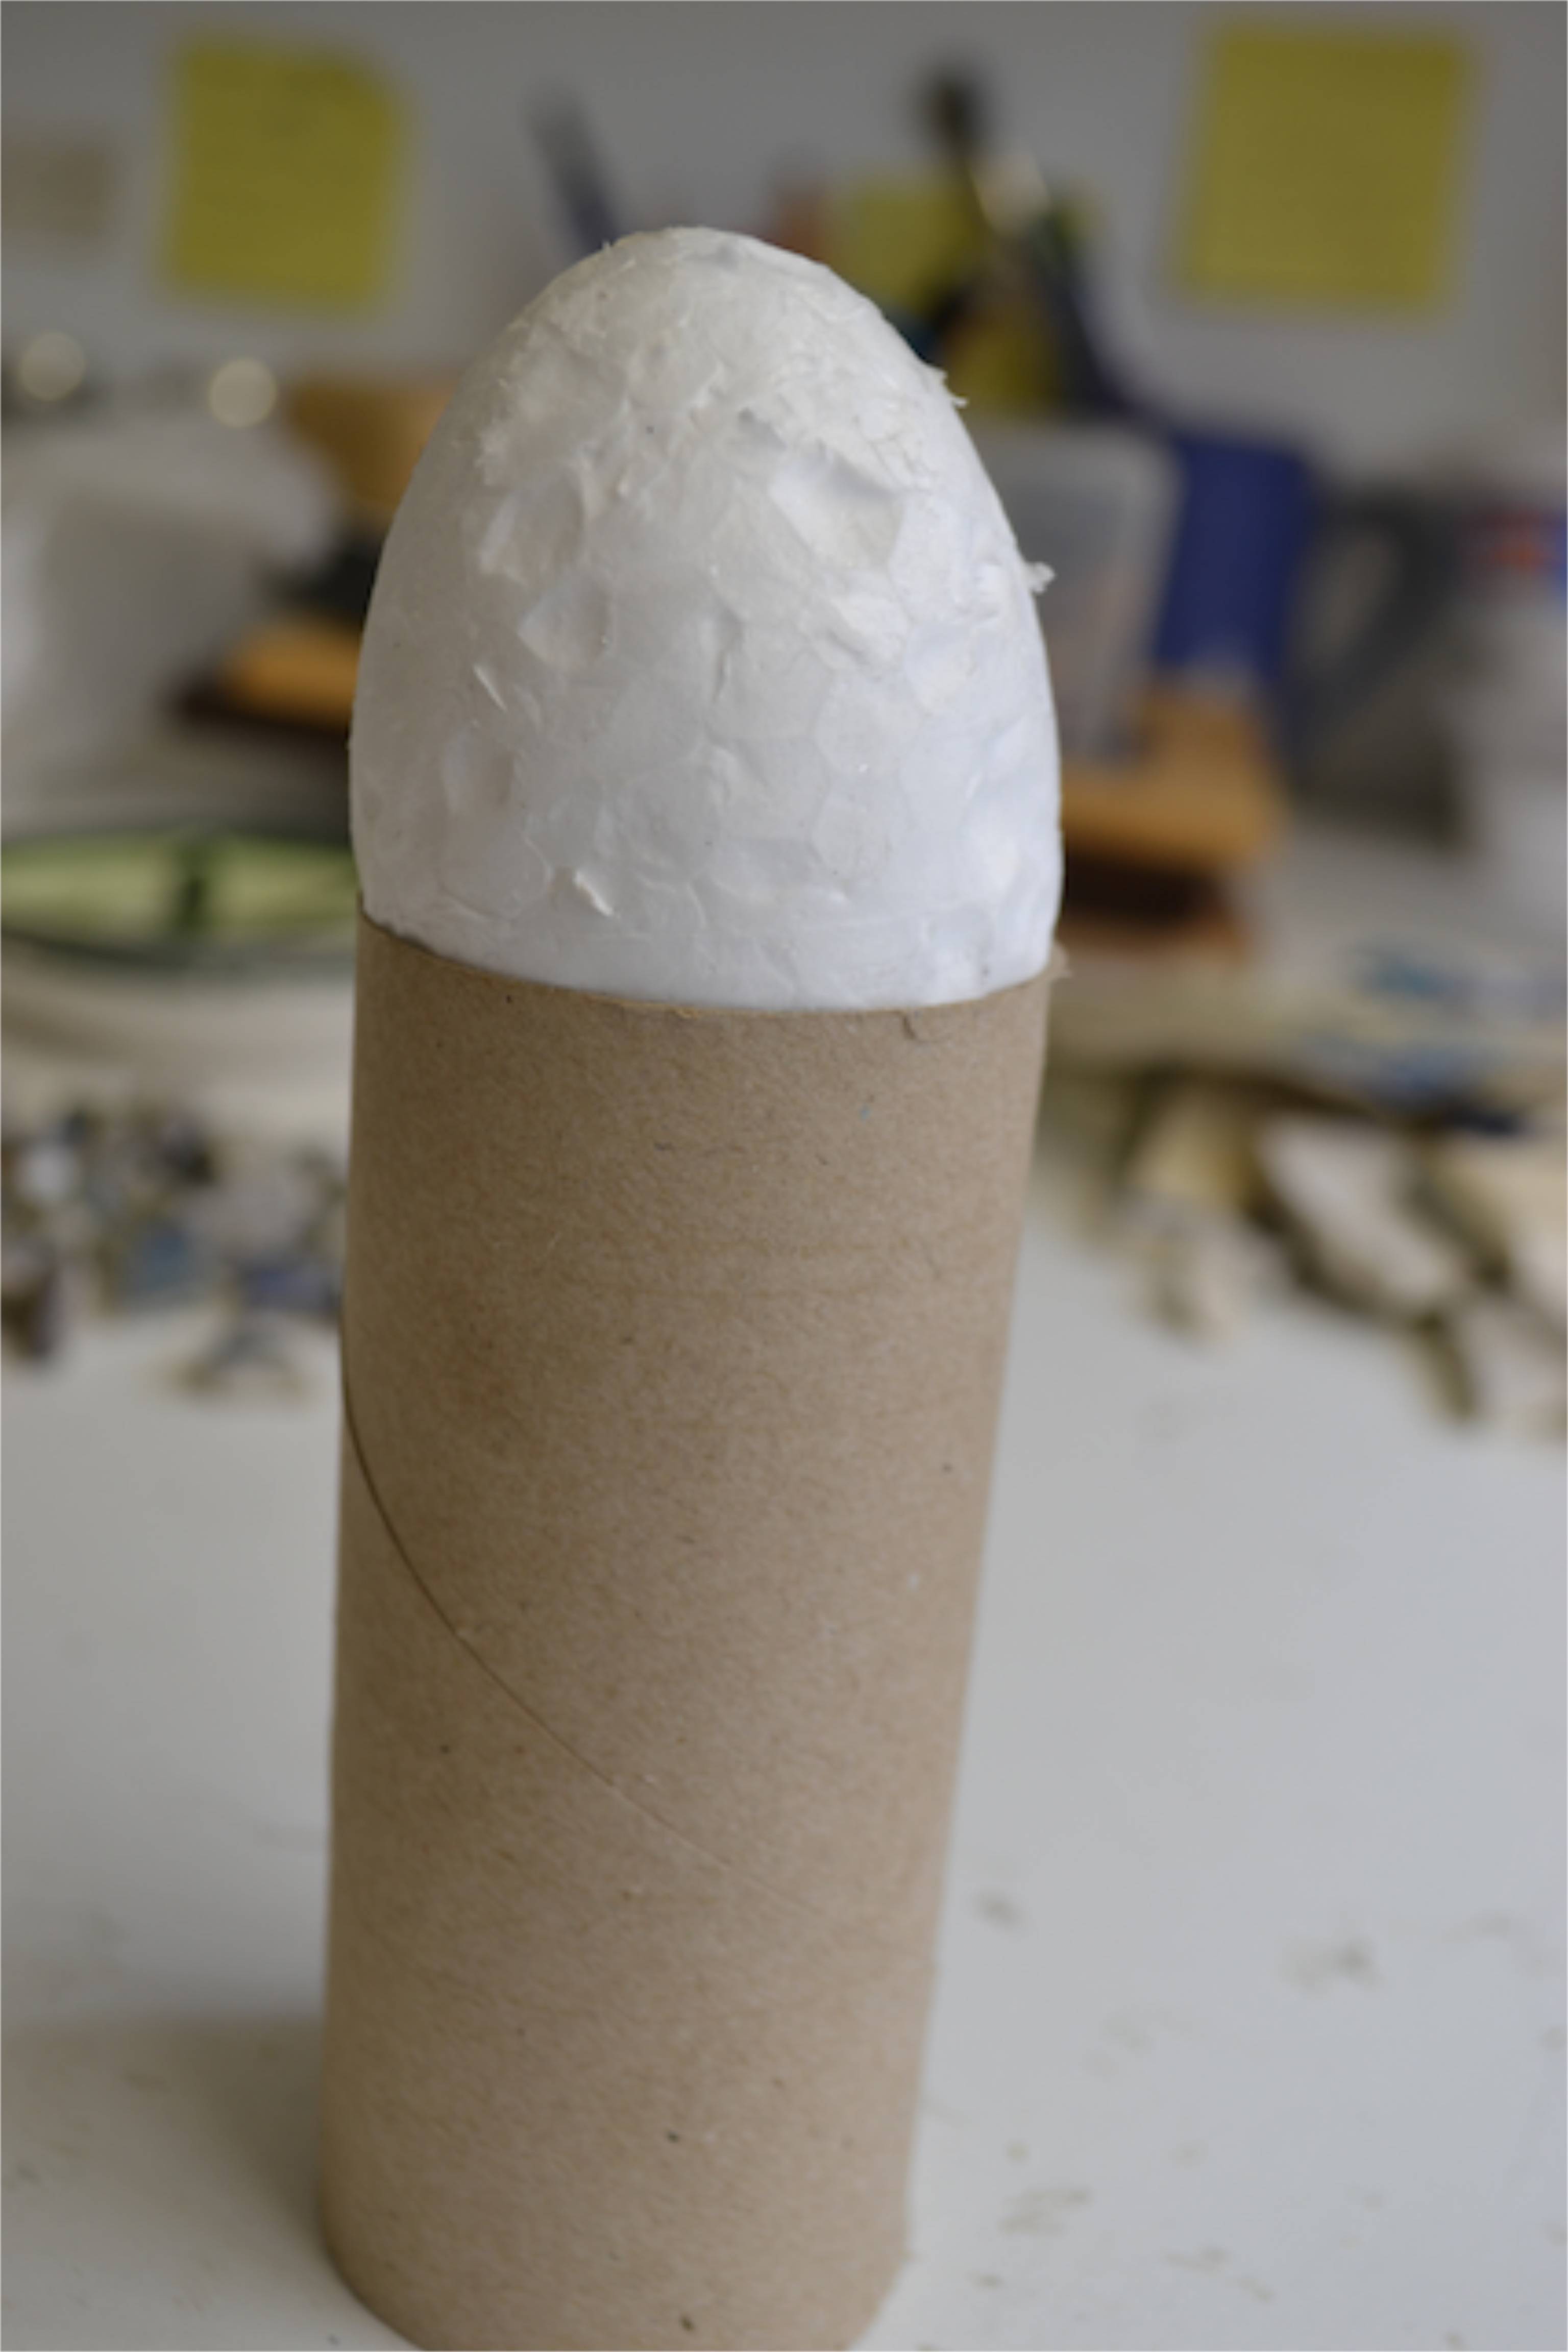
Work one half first then turn the egg around and work the other half. Tip the egg gently into your hand when you are ready to turn it over.
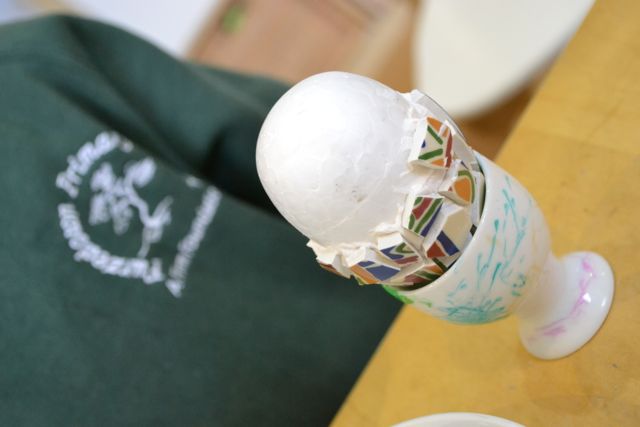
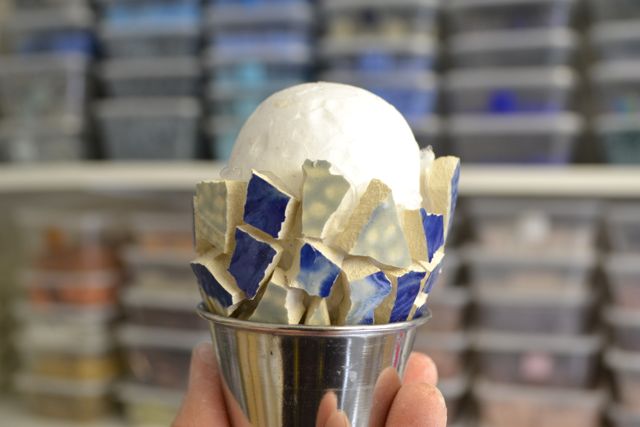
Remember to use enough glue but not too much that the glue squidges right up and closes the grout gap.
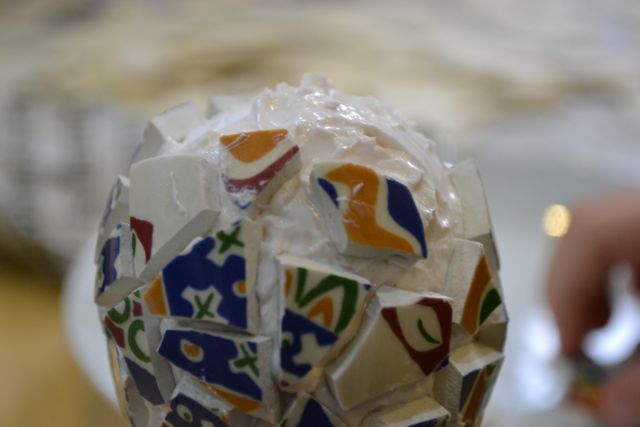
Egg before moving pieces round to close the gaps...
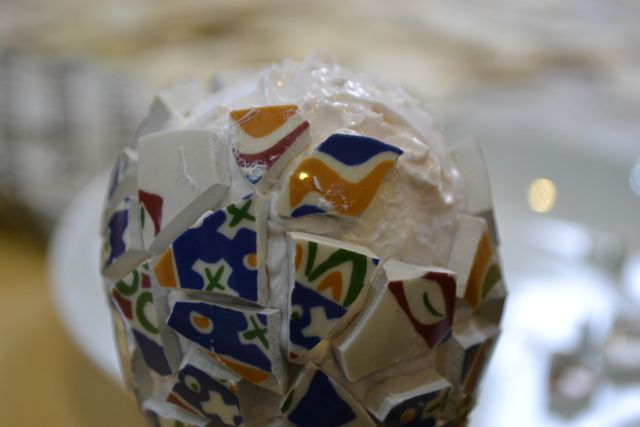
Egg after we moved the pieces to close gaps...spot the difference!
Again, remember to turn pieces around to find the best way of placing them so you avoid big gaps.
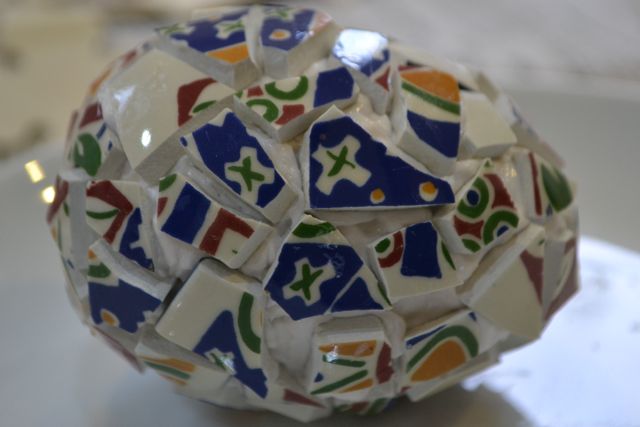
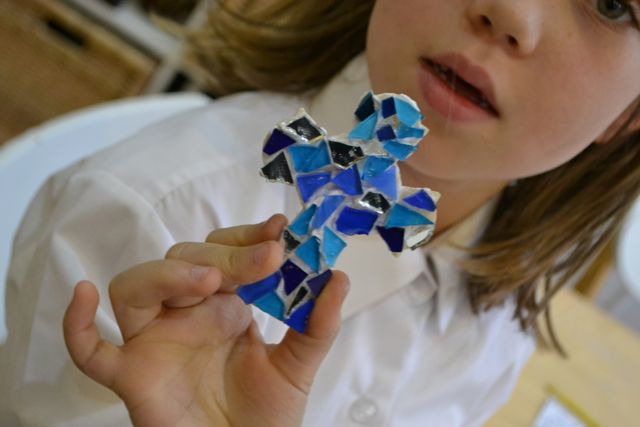
Ta da! All glued. Now you have to wait for it to dry (usually overnight) before you grout.
4. Grouting: aprons, gloves, kitchen paper, masks newspaper at the ready! I always use powdered grout that I mix myself, but if you can use premixed if you prefer (buy a small tub so you use it all up in one go).
If you are doing this project as part of a larger school / club group, you can either do this activity with children (always fun!) or teachers / group leaders can do a mass grouting session of all the pieces.
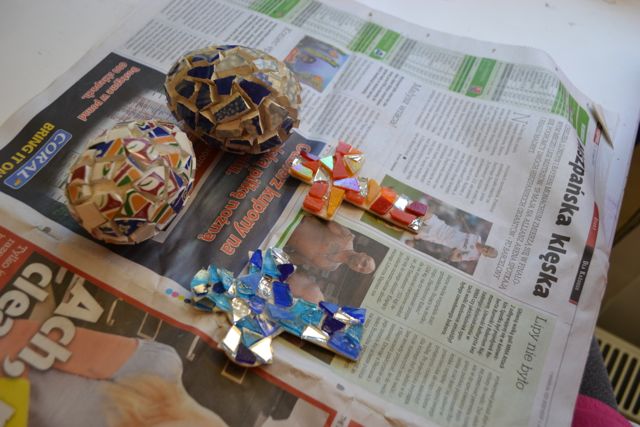
Before you work with grout, some notes of caution. Firstly, when it is in powder form, wear a mask. Secondly, never wash cement based products like grout down your sink – it will block your drains! Thirdly, wear gloves if you are getting it on your hands a lot, especially if you have sensitive skin. If you do get any on your skin, wash your hands with vinegar when you are done – it will restore the pH balance of your skin.
Ready?
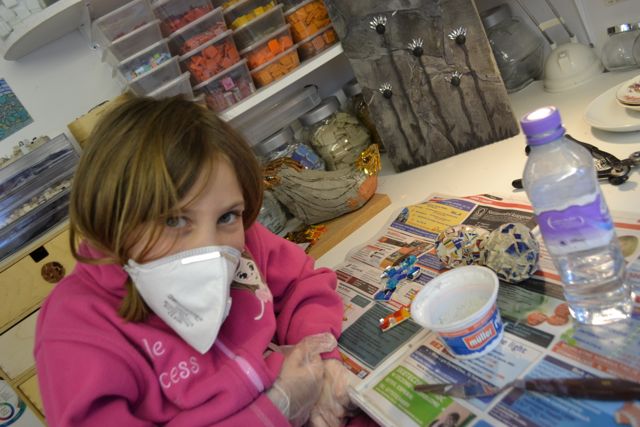
Pour you powder into a container (mask on) and slowly add water until you have a paste that is the consistency of smooth peanut butter. Then leave it for about 15 minutes (this is called slaking).
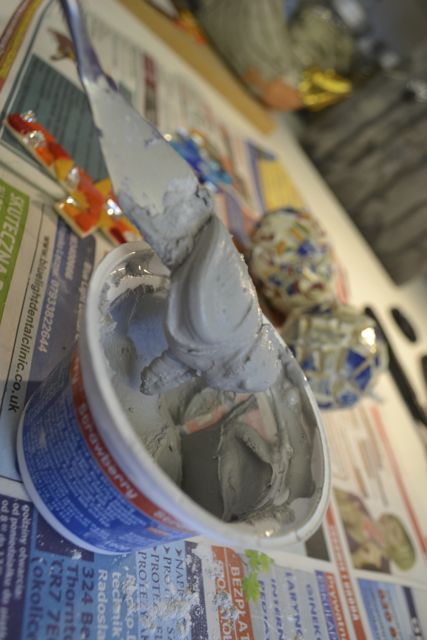
When you are ready, spread the grout into the mosaic with either a spreader or your fingers, pushing the grout into the gaps. Don’t worry if the mosaic gets covered in grout at this stage.
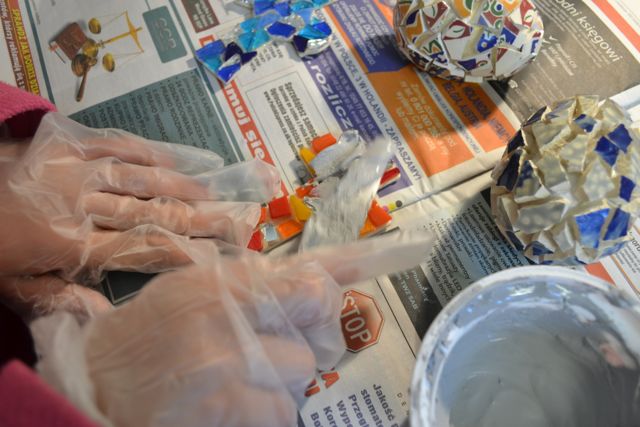
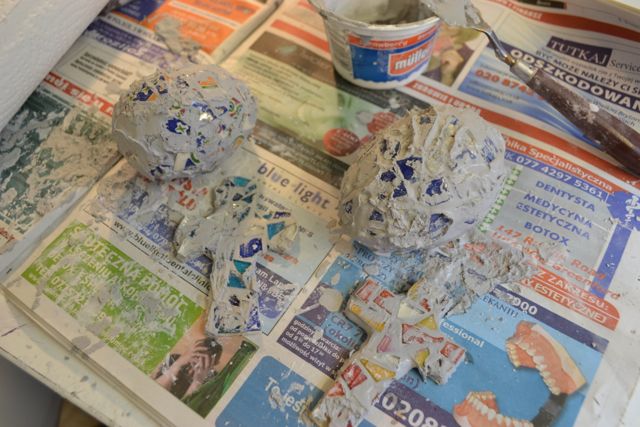
Make sure you push the grout into the edges of the cross.
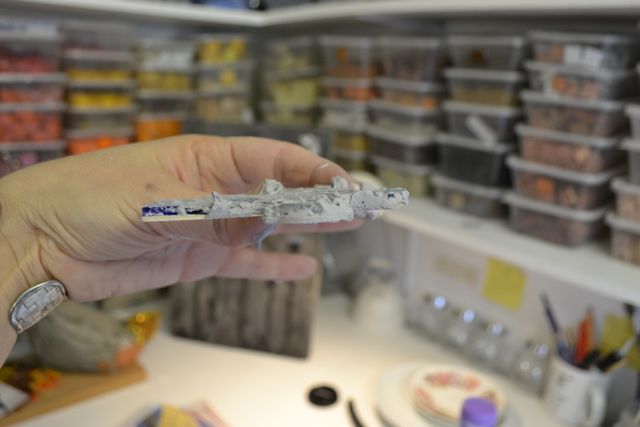
Using kitchen paper, start wiping the excess grout off the mosaic. Keep doing this, using lots of clean paper, until most of the excess grout is gone. It can take up to 15 minutes of wiping!
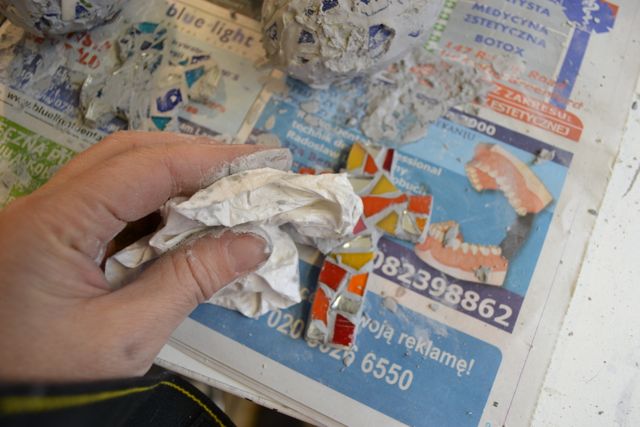
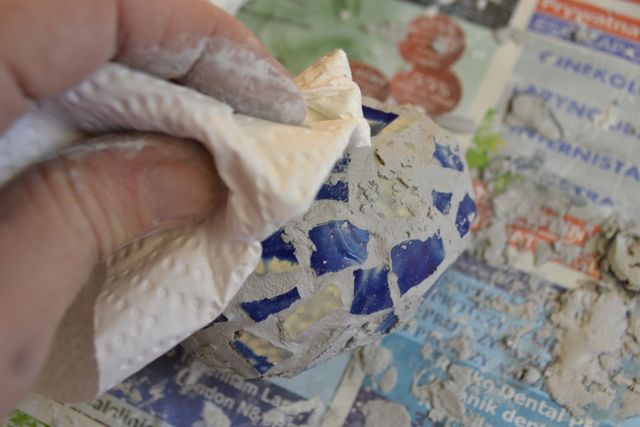
While you are cleaning the grout off, if a piece falls out, just put lots of glue on the base (clear any grout off it first) and put the piece back then gently push grout round the edge of the piece and leave it…(it will be fine!)
You might also spot some cracks / pinholes in the grout as you are cleaning – just fill these with grout as you go along.
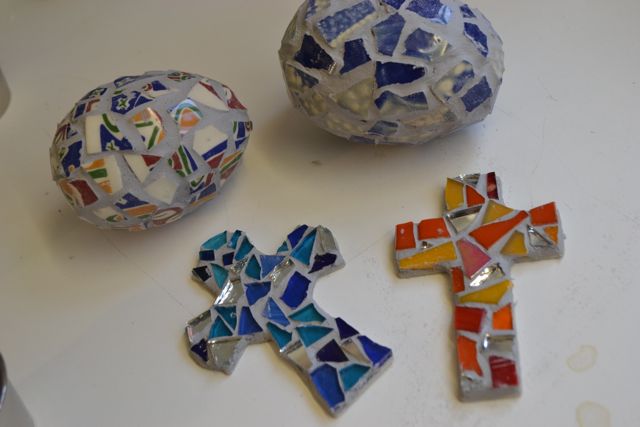
When you think you have removed as much of the excess grout as possible, leave it overnight. There will be a thin film of grout that you can’t remove til its thoroughly dry.
On the next day, you can now do a final clean up of the mosaic – scrub it with water and a nail brush / scourer then buff it dry and shiny!
5. Colouring your grout: if you want to change your grout colour, you can use ordinary paints (not too thick). Metallic paint works well (as does glitter paint).
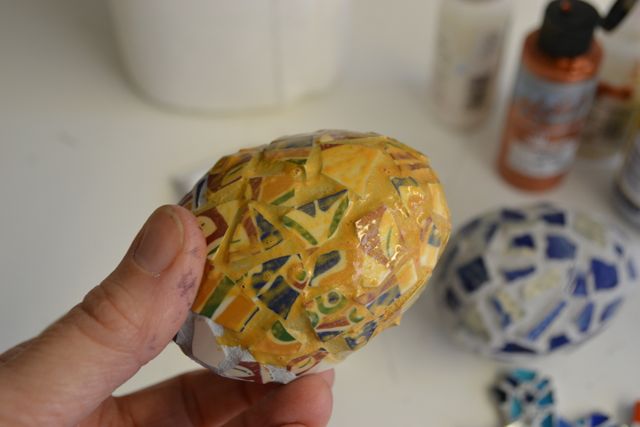
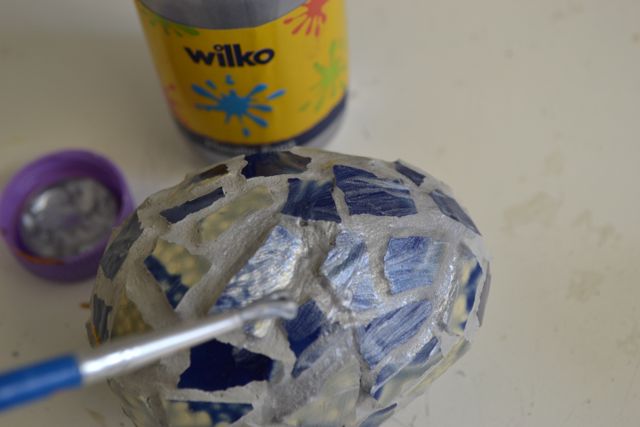
Simply paint the colour over the grout – don’t worry if you get paint on the tiles, it will wipe off easily.
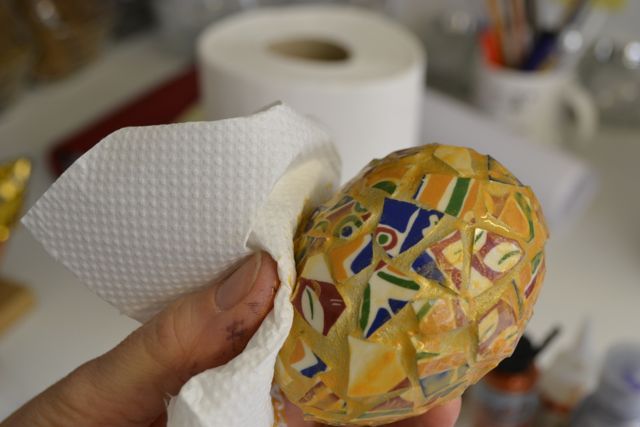
Clean the mosaic up with kitchen roll, making sure you remove all the paint off the tiles.
6. Display – you can add a hook on the back of the crosses to hang if you want. How about making 3 or 5 of the eggs in different colours and display in a bowl (or in eggcups?).

Family heirlooms in the making…
Have fun and Happy Easter!
Hi, Many thanks for your wonderful site/pictures/instructions. I have just returned fom a 3 day Mosaics for the Garden Course at W.I. the Denman College, we had a lot of fun & learnt a lot, but it was our daughter who told me only before I went to the course about using egg shells, so I will be suggesting this to my Macmillan Craft Group that I attend each week. Yours look fantastic. Thank you sooo much, I know this will be sooo much fun for us all at our group. Love & Prayers Mrs Terry Walmsley Waterlooville Hants
Thank you Terry for such a lovely comment – hope you are having lots of fun with mosaics in your Craft Group 🙂
I want to make these for our parent gift project in my church preschool class. I need 12. Any idea where I can get them in bulk for cheap?
Los sistemas de alarmas para residencias cada vez tienen más demanda, especialmente en verano, en tanto que la protección de las segundas residencias
en zonas de costa preocupa a los dueños dada la distancia a su domicilio frecuente.
Hi blogger i see you don’t monetize your site. You can earn additional bucks easily,
search on youtube for: how to earn selling articles
Thanks for publishing this article.