
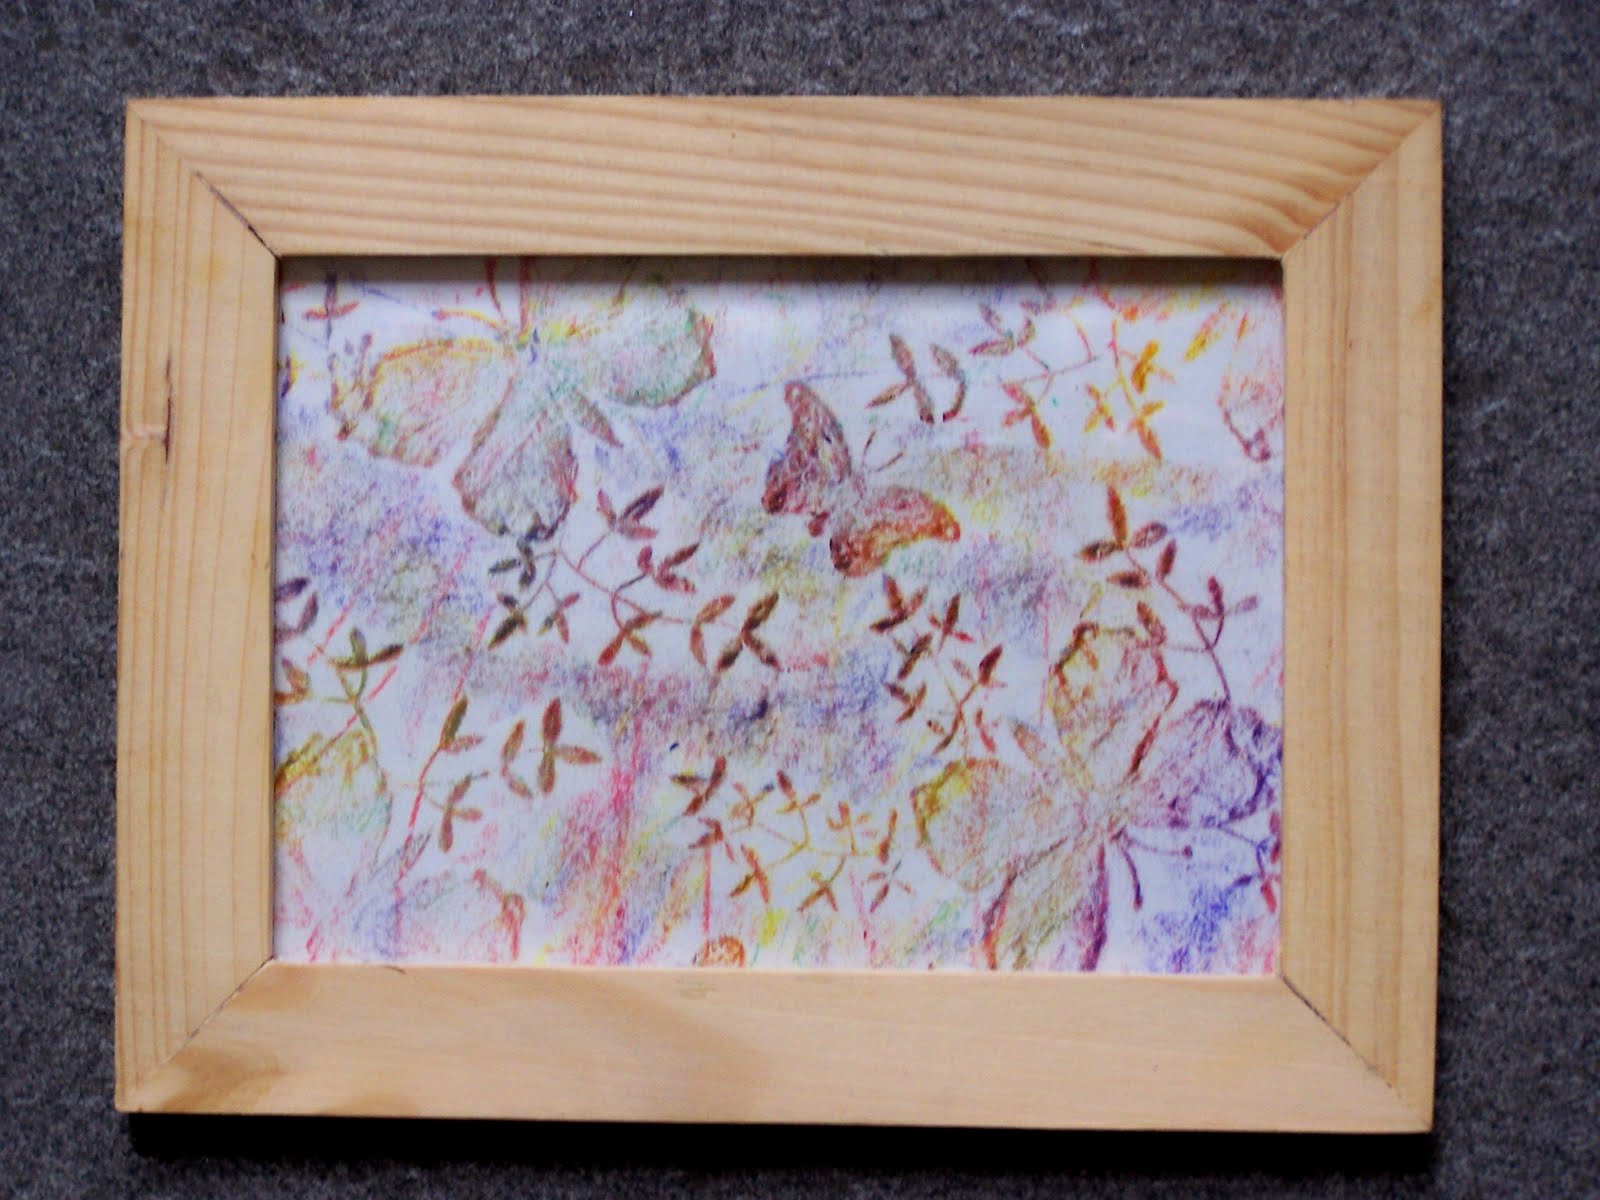
I bought some cheap plastic organisers from the pound shop the other day but they did not serve my purpose of getting more admin efficiency going as I could not get enough papers in each one. Then I noticed that the butterfly and floral pattern on each cover was actually raised. Rather absentmindedly, I got a crayon out and within seconds, a beautiful picture appeared – so pretty, so easy.
I did several sheets then cut them us as notelets for me to use. The kids then joined the fun and we had a great half hour of activity, making spring pictures and then framing them as presents and one for our own art gallery wall. We also made more springy notelets for mummy and cut some and glued some to make our own cards.
Good fun. Have a go:

- Keep your eye out for cheap / free textured bases

- tape a piece of paper to the base you are going to rub, to stop it moving around

- try different crayons. We tried fat and thin ones and some lovely Stockmar crayons made from pure beeswax
- experiment with using a different number of combination of colours

- try moving the paper slightly between each rubbing so you get a shadow effect
Voila! Beautiful pictures in a jiffy!
that IS beautiful. textured fascinate me, too. I have always loved doing this with leaves. But those flowers and butterflies are amazing!
This is really beautiful, and thanks for sharing a clever technique to add more depth. I really love the framed piece with flowers and butterflies!
Oooh lovely!!
What gorgeous gifts these will make.
Em x
That is really very lovely and beautiful!! Thanks for sharing this wonderful technique! Have a lovely merry happy week and love to you!